By default, WordPress installed in the English language, which is already a very popular language for any platform. But, many WordPress users may feel more comfortable in their own language than the English language.
So, for this reason, WordPress provides a feature to change the WordPress default language into your chosen languages. There are over 65 different languages available in WordPress.
However, this feature only changes the language displayed in the dashboard of your WordPress website and some texts in the theme. It does not change the content of your posts or pages.
Let’s see how to change your WordPress languages in a few simple steps.
Changing the language in the WordPress dashboard
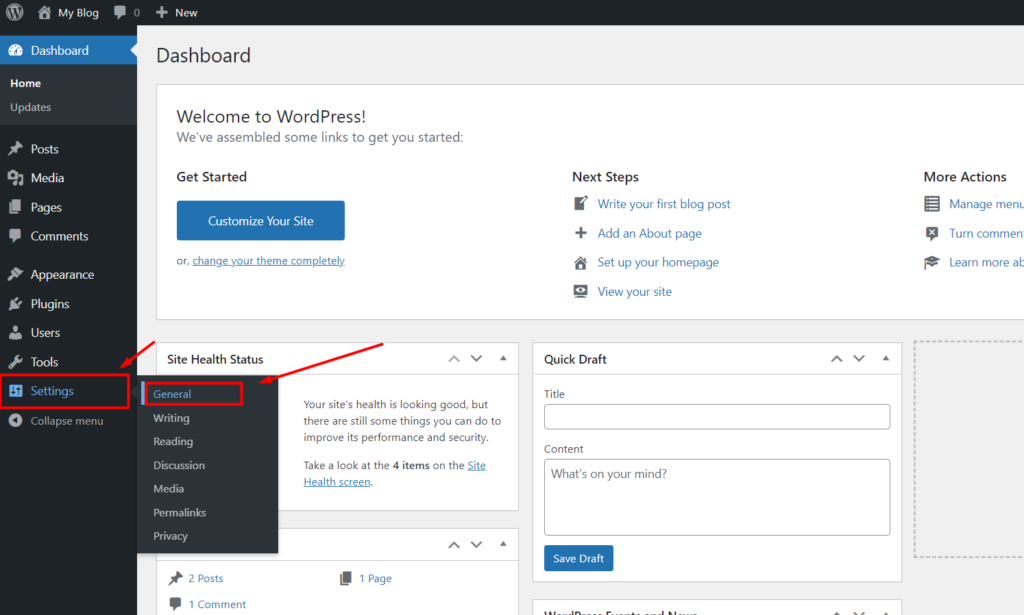
1.First, you have to log in to the WordPress admin panel (Dashboard).
Then, hover the cursor over Settings in the navigation menu. A sub-menu will pop up on the right side of the settings.
2. There you have to click on the General option. This will lead you to the General setting of your WordPress Website.
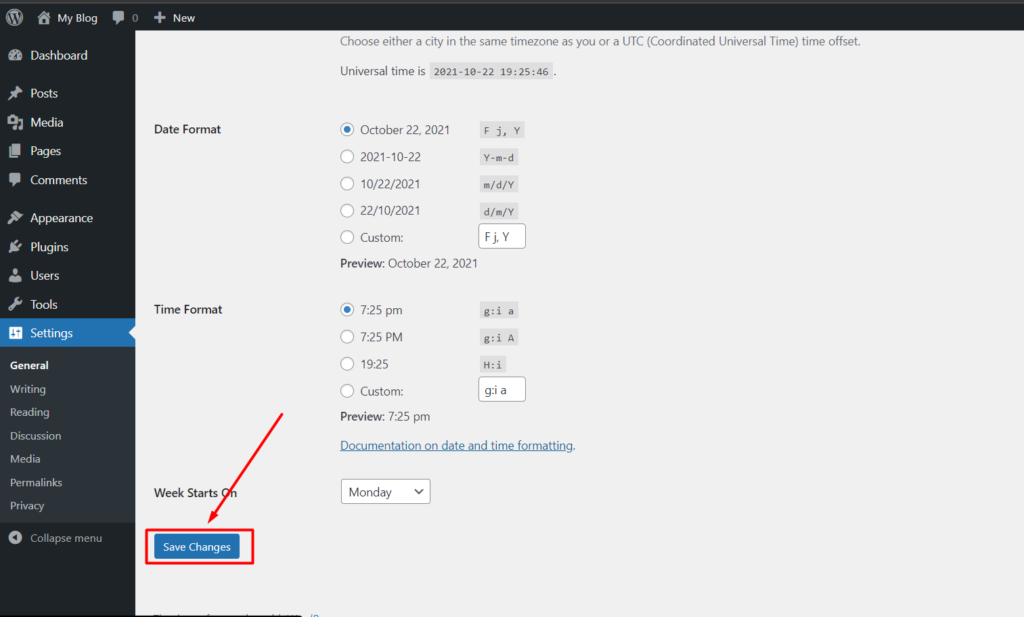
3. Look for the Site Language option on this page. Click on the drop-down menu to open the list of languages available there.
4. Select the languages that you want by clicking on them.
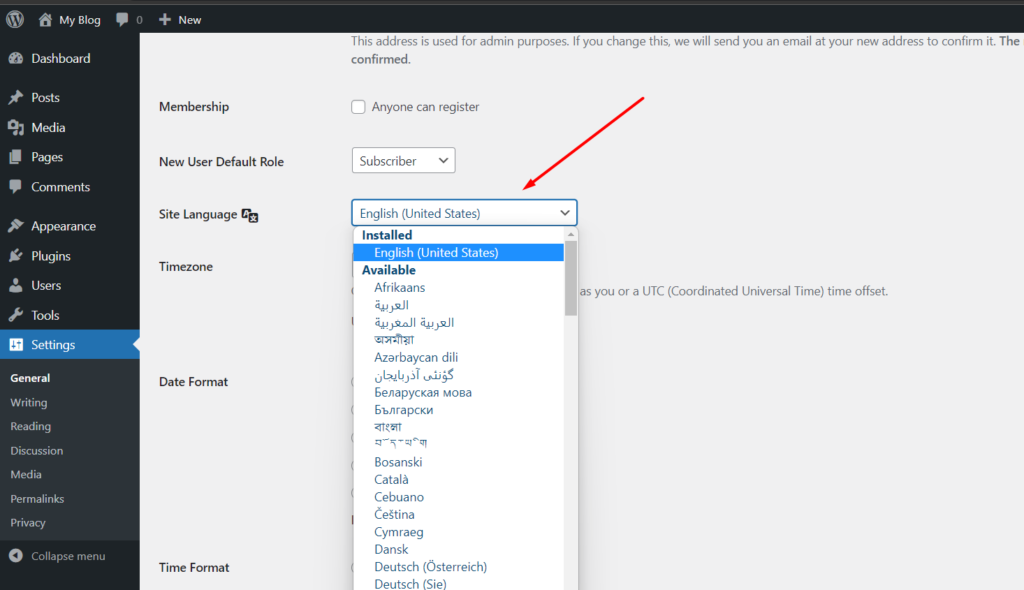
5. Now, click the Save Changes button to apply the new language to your website.
What if the language I want is not available on the list.
When you are trying to change the language of WordPress, there is a possibility that the language you are looking for is not available in the drop-down list. In this case, you have to install it manually to your WordPress site.
Let’s see how to download and install the language file into your WordPress site.
Downloading the language file
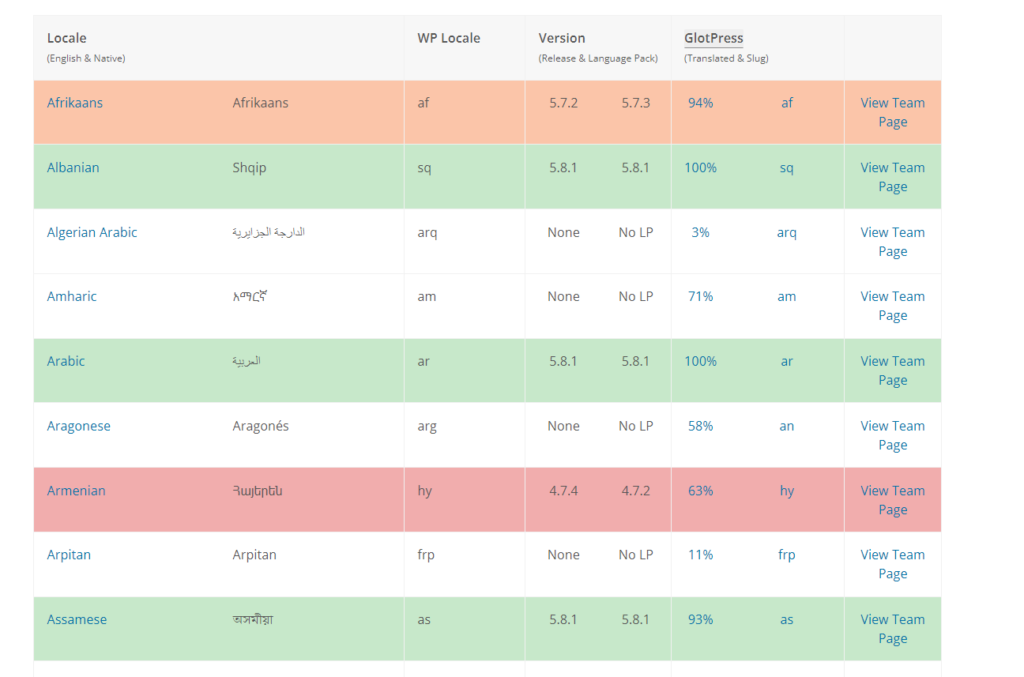
1. First, you have to go to WordPress.org >> Get Involved >> Polyglots >> Teams (Here)
2. Scroll down and find the language that you want to install on your site.
3. Click the percentage value of that language. It will take you to the Translating WordPress page.
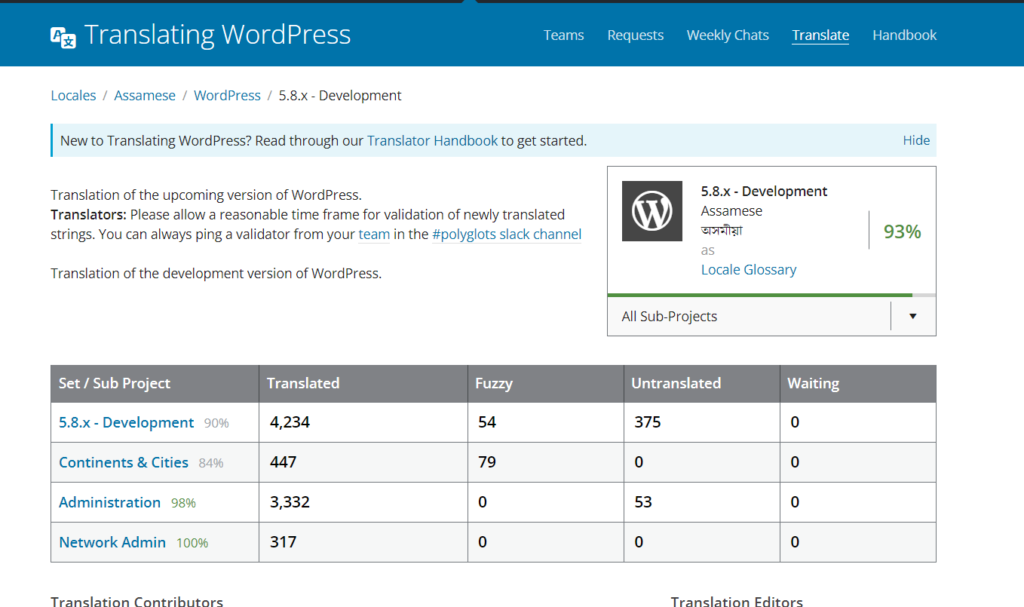
4. There you will see the WordPress version number in the Set / SubProject column. Click on it. In this example, version 4.9 has the Development status, which means the translation is complete but hasn’t completed testing.
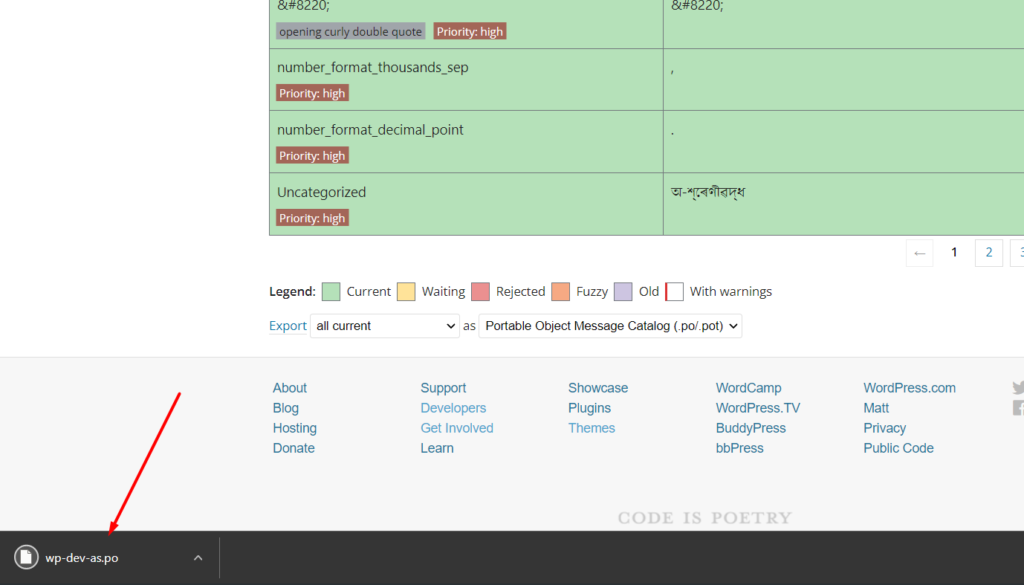
6. Now, scroll down and look for the Export option at the bottom of the project page.
7. Select the type of the export file as Machine Object Message Catalog (.mo) and click on the Export option.
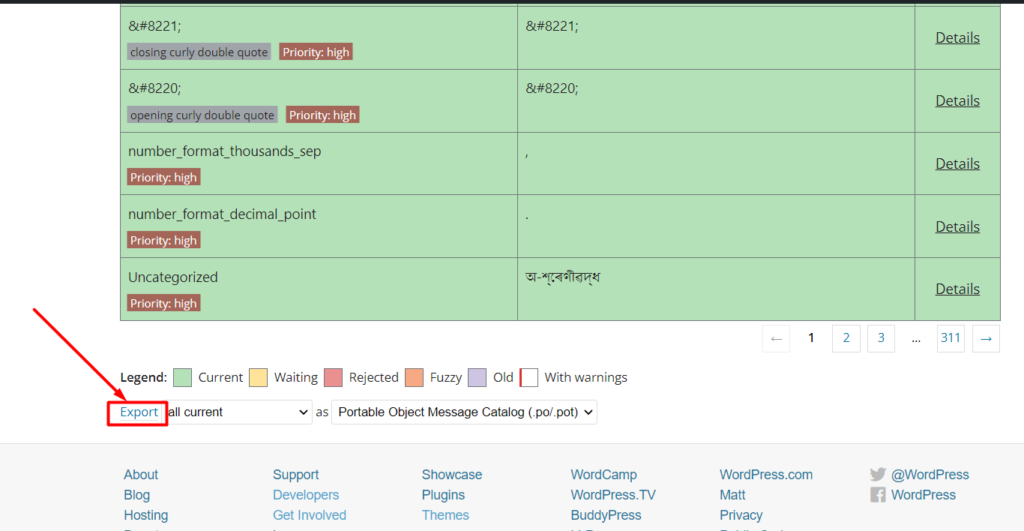
The .mo file is downloaded and saved on your local computer.
Installing the language file
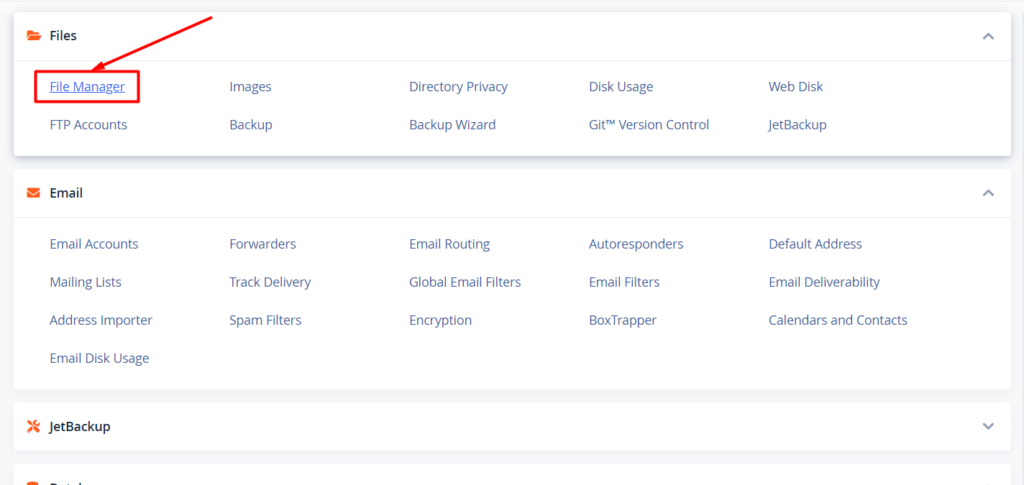
- First, Log in to your cPanel and click on the File Manager option.
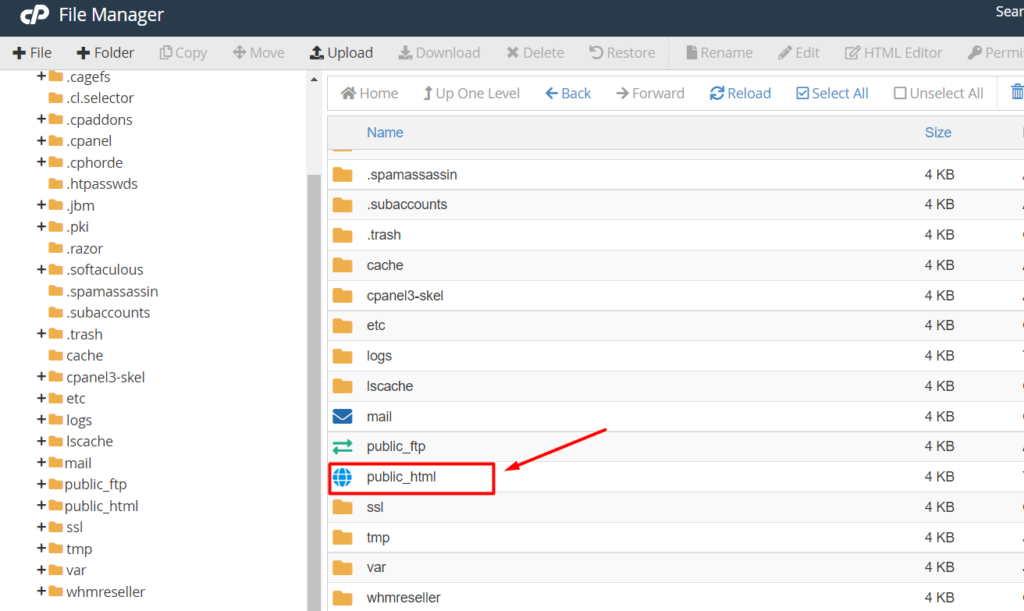
- Then go to the wp-content folder and look for the languages folder there.
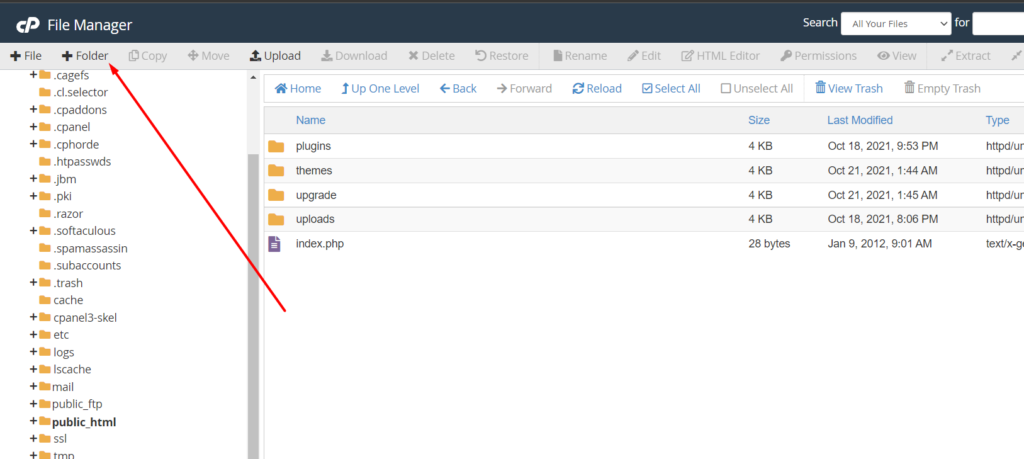
- If wp-content does not contain a languages folder, then create it by clicking on the New Folder.
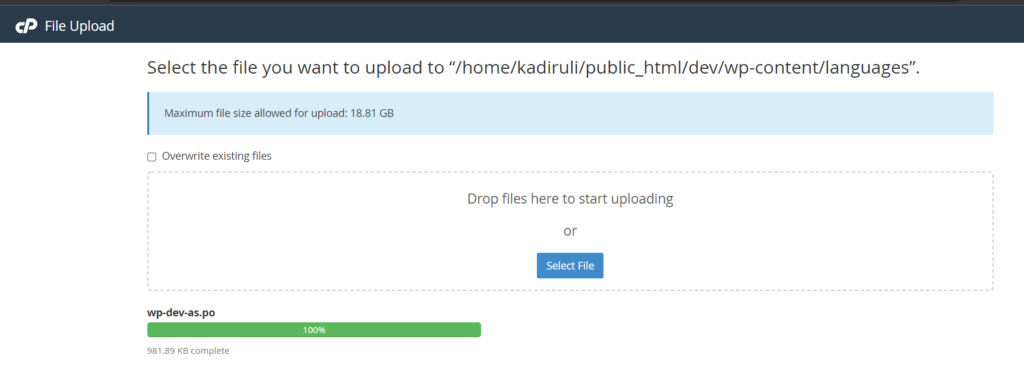
- Now, open the languages folder and click Upload to upload the .mo file you downloaded.
- You can Drag and drop the .mo file you downloaded to the upload page or click the Select File button to browse the file on your local computer.
- After finishing the upload, you can log out of cPanel.
Change the Language
- Repeat the previous process to change the language of WordPress.
- Go to the site language, click the drop-down menu. There you will see the new language under the installed section in the list.
- Select the language by clicking on it.
- Click on the Save Changes button to apply the language on your WordPress site.
If you find this article useful, do consider sharing it on Facebook, Twitter, and WhatsApp with your groups and friends.
So, I can post more articles like this.
Thank me by sharing this article 😊.